Project Trucks
Project Trucks was a small challenge we set ourselves after first learning to use the automation system in the Atheniaum Theatre. The system is Made by Stage Technologies and is made up of; the Illusionist control desk running the EChameleon software, the AU:TOUR portable 4-way control rack, and four BigTow winches and point hoists.
Brief
The brief we set ourselves was to use the automation system to move two trucks across the stage, whilst flying objects onto them from above. We thought this would be easy enough that we could achieve it in two days, yet tricky enough to set us a reasonable challenge.
Design
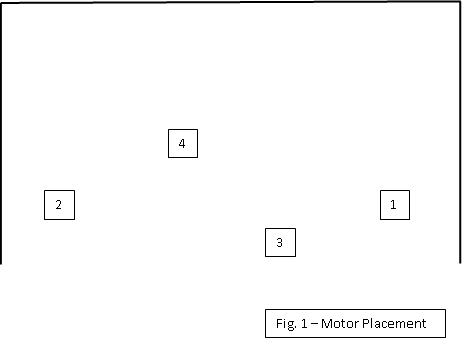
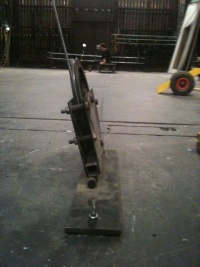
The four motors were already in positions (see Fig.1) and due to time restraints we decided to leave them as they were. By using the swivel pulleys already in place on motors 1 & 2 and using floor mounted tilting pulleys we were able to re-route the lines from the motors to get two lines of travel (see Fig.2&3)
The plan was to have the upstage truck controlled by motor 1, and the downstage truck controlled by motor 2.
One end of the truck would be attached to the line from the motor, the other would be attached to a line running to the opposite wing, round another pulley and attached to a counterweight bar. The plan was that if the bar was left weighted but unbraked,(ALWAYS MAKE SURE YOU HAVE TAKEN THE BREAKS OFF OF THE COUNTER WEIGHT SYSTEM BEFORE USING THE AUTOMATION SYSTEM) that when the motor let out slack, the counterweight would cause the bar to raise, which in turn would pull the truck. To move in the opposite direction, take the motor line in, again causing the truck to move.
We would plot moves on the desk so that the upstage truck was beneath motor 4, and the downstage truck beneath motor 3, and using motors 3 & 4 respectively, fly another object onto the truck.
Construction
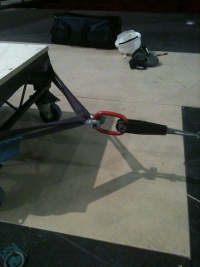
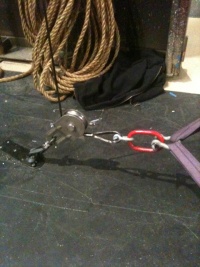
Each truck was contructed from a section of steel deck @ 8x2 and 4 wheels welded to short lengths of scaff. On either end of the truck there was a strop wrapped round the interior, shackled to a master link which was then in turn shackled to either the motor line or the c/w line.We then chose to put objects on to each truck so on the USR truck, axis 1 we put a coat stand on to the truck and then we rigged a coat on a hanger on axis 2. The idea was that the coat would go on to the coatstand by losening the tensiuon. We also put a bath tube on to the DSL truck, axis 4 and then rigged a woman dummy to axis 3 the idea being that the woman would land in the bath tube when the truck was under it.
Programming
Programming Steps
New Show
Add data areas & axes
Define Scenery
Autoreference
Centre trucks (axes 1&2) and reset position as zero (using SET POSITION in RIG RIG menu)
Record deads
Program cues
0.5 – Preset state – axes 1-4 dead 1
1 - First state - truck moves from offstage position to onstage. Item (coat) flys in, detaches, and flys out
2 - Second state - 2nd truck moves from offstage to onstage. Item flys in and stays in. (Woman in bath)
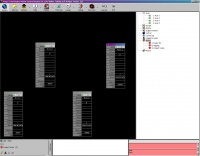
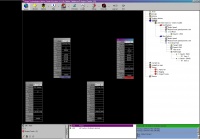
The outcome of this project was that we all got a good idea of how the automation sytem worked even though we struggled with the the coat landing on the coatstand and the woman landing in the bath due to not programing the speeds correctly. Programming the speeds of each axis is trial and error but unfortuanatly we ran out of time before we could perfect our trucks project.
Links
Video footage of the final project [1]
