She Loves Me
index.php?title=Category:Productions
index.php?title=Category:Musical Theatre
index.php?title=Category:New Athenaeum
| She Loves Me | |
|---|---|
| Summary | |
| Dates 3rd - 6th December 2024
| |
| Location New Athenaeum
| |
| Creative Leads | |
| Director Vic Sivalingam
| |
| Lighting Designer William Sheils
| |
| Sound Designer Cara Slaughter
| |
| Set and Costume designer Alex Doidge-Greene
| |
| Production Team | |
| Stage Supervisor | |
| Deputy Stage Supervisor | |
| Head Of Flys | |
| Technical Stage Technicians [[]], [[]]
| |
| Stage Manager | |
| Deputy Stage Manager | |
| LX Programmer [[]]
| |
Technical Stage Department
Groundplan
Masking with Truss
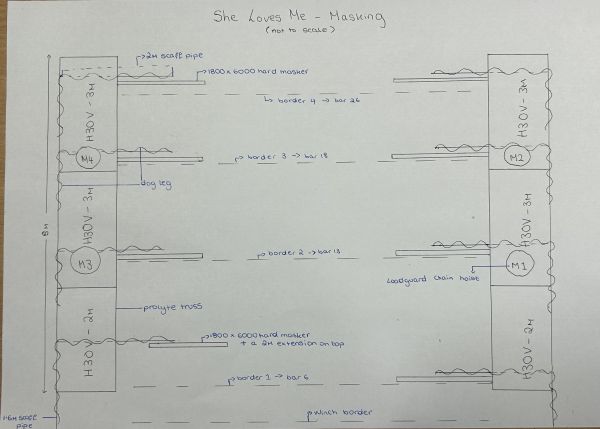
For this show we knew that the design needed hard masking, and that this would take up a lot of our hemp lines that we have in stock. Each hard masker needs two hemp lines, and we had 8 hard maskers, meaning that 16 hemp lines would already be used. Because of sight lines, due to having large trucks coming off an on from the wings, we knew that we would have gaps in our masking, and therefore would need to use dog legs around the back of each hard masker, and borders in front, in order to close these gaps. Each dog leg takes another 3 hemp lines, so in total another 24 hemp lines would have to be used. In stock, we only have 24, 44m hemp lines, so we wouldn't have had enough for all the hard maskers and dog legs. This is when we thought about using truss. We decided the easiest way to cut down on the amount of hemp lines we were using was to have truss spanning the length of the wing on both SL and SR, hanging on two motors, placed motor down, and have 4 scaff bars coming off of each truss at a 90 degree angle using doughty clamps, in order for the dog legs to go along the truss and across each scaff bar. This means we can use 16 hemp lines for the hard maskers, and the remaining 8 to have pickup points on each end of the border bars, as we have 2m extensions on each of these.
Flys
Fly Plot
Flys Preset Check
Master fly cue list
Kabuki Letter Drop System
beginning design - buckets first couple tests final test
Originally when we thought about how we would do a letter drop system, we decided on simply putting letters in two buckets that were zip tied to a pole with a pulley system, in order to tip the buckets over for the letters to fall out. However this turned out to not work well, as the buckets wouldn't fully tip enough for all the letters to fall out, and also all the letters clumped together instead of spreading and falling nicely. We went away and re thought our plan, and instead decided to create a simple old school kabuki style system.
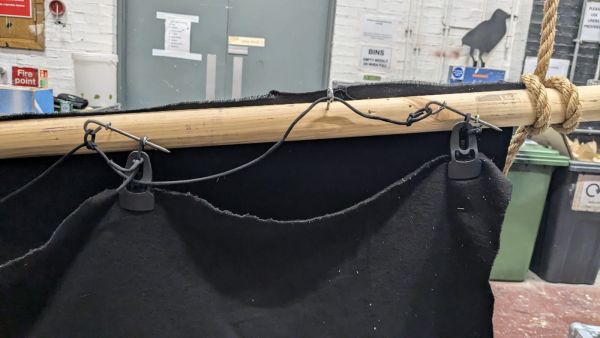
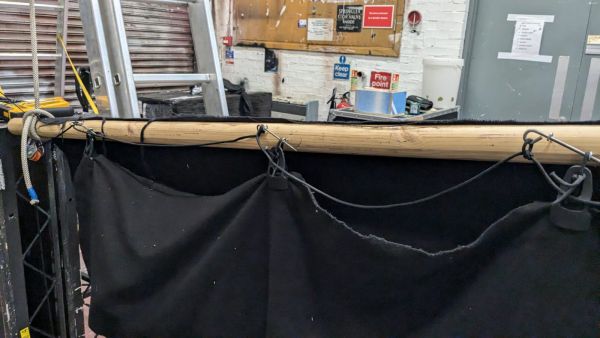
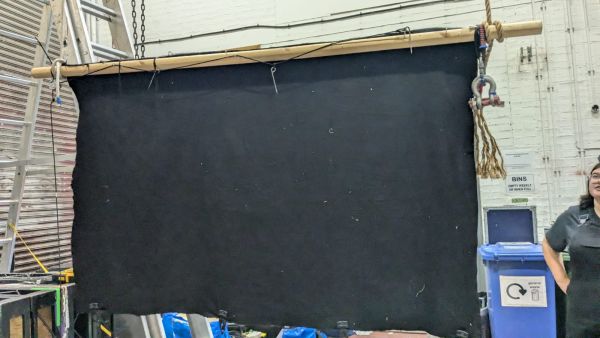
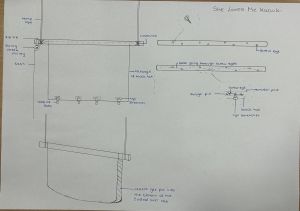
We got a rectangular piece of black tat and found a wooden pole. We used the staple gun to attach one side of the black tat to the wooden pole, and on the other side we attached 4 cyc stretchers and bits of sash tied together in small loops. We then attached 4 pins evenly along one long piece of sash in order to create a release mechanism, making sure that there was enough sash to reach down to prompt side flys. Along the wooden pole, we put in 8 screw eyes for the pins to go through, in order to hold the other side of the tat up against the wooden pole. We made sure that the second screw eye of each group was at a lower height than the first, to make sure that none of the pins accidentally fell out and released the system at the wrong time. This all works by putting a pin through one screw eye, then through one of the sash loops, then through the second screw eye, and repeating this for each of the loops along the tat.
Rehearsal Revolve Build
